Tracking down bad caps
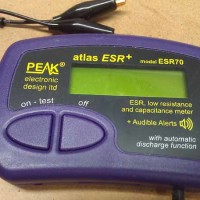
I just added a new tool to the workbench and I’m loving it: Atlas ESR70. I work on a lot of power supplies, computers, transceivers, LCDs, printers (you get the drift, right?) and find that capacitors don’t always have to “leak” to be bad. Here’s a pic of some bad capacitors. Easy enough to spot the bad ones, right? After replacing the three bulging caps though, the system did not come up.
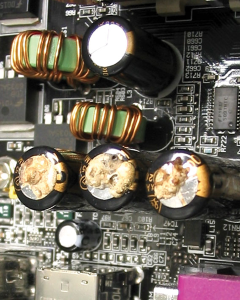
There’s more than 3 bad caps in this picture.
The ESR meter allows me to test for the equivalent series resistance in circuit, which is often impossible with a capacitance meter or DMM. And this particular model of ESR meter discharges a capacitor before measuring. . . so no blown meter innards.
An ideal capacitor has a zero equivalent series resistance, and failure of a capacitor can be seen as an increase in its ESR. Well, the cap at the top of the picture was bad as well. . . although you can’t tell by looking at it. After replacing the 4th cap, all is well.
If you want to build your very own ESR meter from scratch, here are some plans. I do enjoy building electronic projects and kits, but for my test gear I’d rather have tested and calibrated equipment. I also love the bells and whistles on the Atlas ESR70 …audible confirmation, auto shutoff, digital display, auto-discharge, as well as capacitance.
So if you run into a bad case of the capacitor plague, an ESR meter is a great help. And when replacing caps, use good quality capacitors of a higher voltage rating, if they will physically fit. And make sure there is good airflow through the box, panel, cabinet, etc. Remember, heat it the number one killer of electronics.
Other interesting articles


